- OVERVIEW
- PRODUCTS
- Featured Products
- Abrasives
- Adhesives, Coatings & Sealers
- Body Filler & Glazes
- Compounds, Polishes & Glazes
- Masking
- Paint Spray Equipment & PPS™
- Tools, Dust Extraction, Accessories
- View All Products
- APPLICATIONS
- Aluminum Shop
- Metal Shop
- Bumper & Plastic Repair
- Paint Finishing & Detail
- Corrosion Protection
- Paint Shop
- Glass Shop
- Seam Sealers & Coatings
- Heavy Duty Truck
- View All Applications
- Support
Automotive Paint Booth Application
-
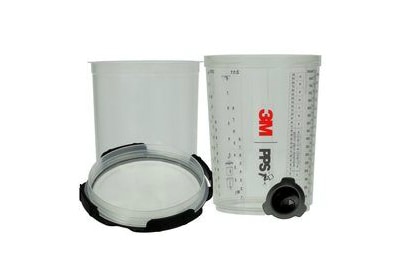
This standard operating procedure demonstrates the simple steps for using 3M™ PPS™ Series 2.0 Spray Cup System. It highlights the major improvements 3M has made from the connection to the cup, including the four-point attachment from the spray gun to the lid; the ¼-turn lid locking system; and the wide, flat sealing plug for temporary sealing and protection. But getting the most from PPS™ Series 2.0 isn’t just about the system itself. This SOP also includes tips to ensure that you get the most effective, efficient spray cup experience possible.
Automotive Paint Application Steps
-

Step 1: Place A New Liner in the Hard Paint Cup
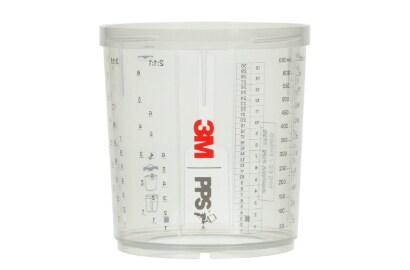
Mix paint directly in the cup – premixing and pre-filtering (and their related expenses) are unnecessary. NOTE: A new PPS™ Series 2.0 hard cup is included with every kit.
-

Step 2: Lock Lid onto Paint Cup
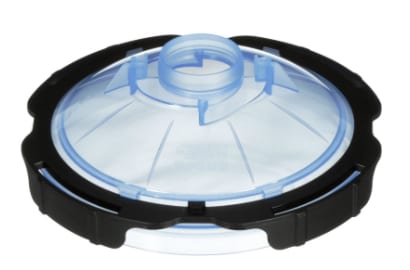
Place lid on top of cup. The tab on the lid should be centered with the clear access window on the cup. Push the lid down and twist 1/4 turn to lock the lid on the cup. Do not overtighten.
-

Step 3: Optional: Universal Shaker Core
Insert the sealing plug and use the PPS™ Series 2.0 Universal Shaker Core to stabilize the cup in your paint shaker. The shaker core has two sides to fit all PPS™ Series 2.0 cup sizes.
-

Step 4: Attach the Adapter
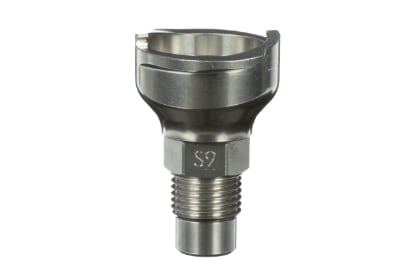
Once the correct PPS™ Series 2.0 Adapter is attached to your spray gun, (go to - 3Mcollision.com/pps for the correct PPS™ Series 2.0 adapter), attach the adapter to the lid. Simply push the adapter down and twist until it locks into its four connection points. Take care not to cross-thread. (For more information, see Tech Tips). Attach air supply and begin spraying.
-

Step 5: Disconnect Paint Cup
When finished, disconnect air source, invert the gun and pull the trigger. Allow time for paint to drain from the lid back into the cup. Now, tap the bottom of the hard cup on your mixing bench or table to speed the flow.
-

Step 6: Temporary Protection and Sealing
Insert the PPS™ Series 2.0 Sealing Plug into the lid, turn the cup upside down and place it on the flat, wide base. This keeps the lid filter wet, preserving it and allowing you to use fewer lids.
-

Step 7: Safely Dispose of Products.
Consult paint or solvent Safety Data Sheets (SDS) in addition to local regulations or authorities for safe use and proper disposal of cups, lids, liners and coatings.
-
Important NoteThere are of course many factors and variables that can affect an individual repair, so the technician and repair facility need to evaluate each specific application and repair process, including relevant vehicle, part and OEM guidelines, and determine what is appropriate for that repair.


